Adding, removing, and restoring content
How to add custom content, exclude and re-add default items, publish your draft, and roll back to a previous version.
Creating custom content
You can add new content at any level of the template.
Custom section
A custom section adds a new top-level heading.
- In edit mode, click Add Section below the section list.
- Name the section.
- The new section is added to the bottom of the list; drag it into the position you want.
Custom group
A custom group adds a sub-heading inside an existing section.
- Expand the section.
- Click New group.
- Name the group.
Custom item
A custom item adds a new content block.
- Open the section or group where the item belongs.
- Click New item.
- Name the item and edit the content.
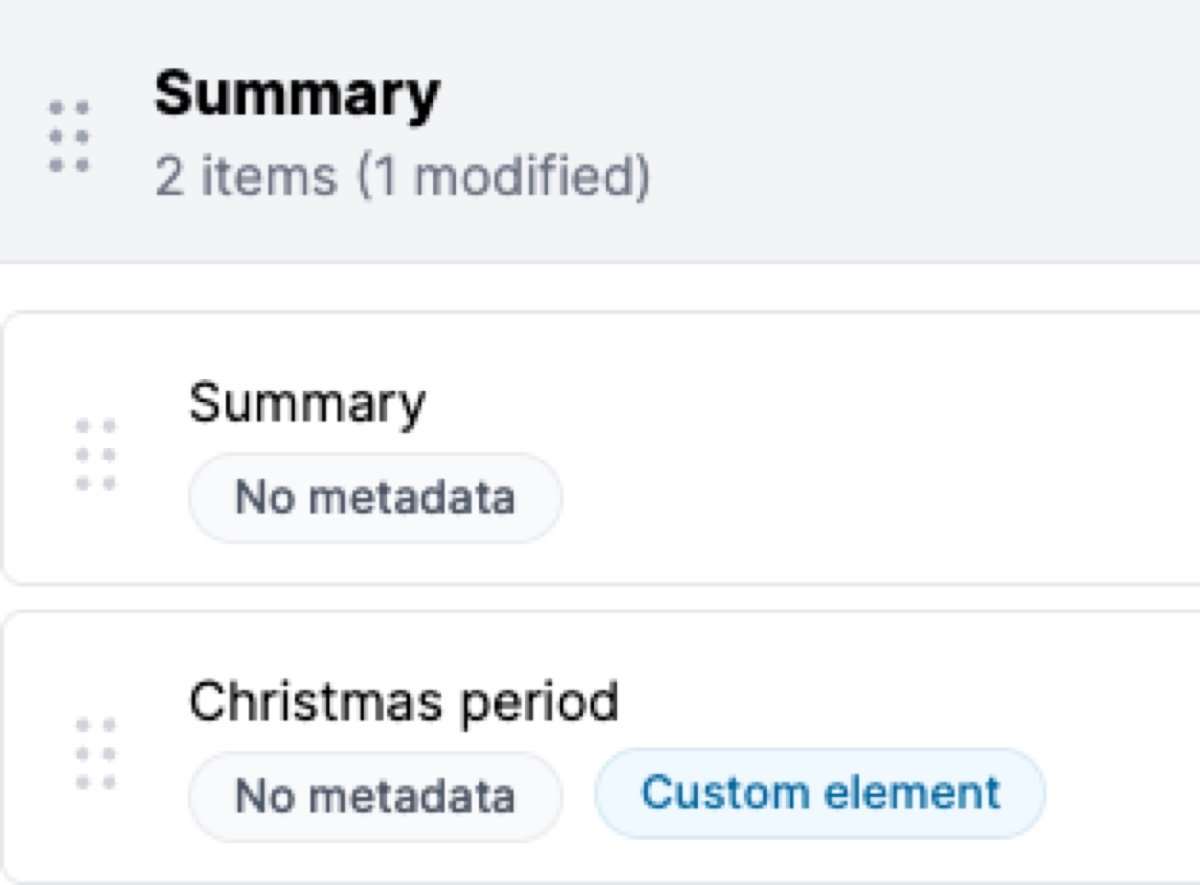
Custom content carries a Custom badge so you can tell what you added from what’s part of the default template.
Excluding items
To take a default item out of the report without deleting it, exclude it.
- Find the item on the Report Items tab.
- Click the item’s delete action.
- Confirm.
The item moves to the Excluded Items tab and stops appearing in reports. You can add it back at any time.
Re-adding excluded items
- Switch to the Excluded Items tab.
- Browse the Content Library; items are grouped by their original section.
- Click Add to report on the item you want back.
The item returns to its original position in the template.
Publishing changes
When the draft is ready, click Publish Changes in the header.

Publishing:
- Saves a version snapshot of the draft so you can roll back to it later.
- Updates the live template - new reports use the updated content from this point.
- Clears the draft and returns the template to read-only mode.
Version history
Each publish creates a version snapshot, building up a history of every change.
Viewing version history
- In edit mode, click Version history in the header.
- The panel lists every version, newest first.
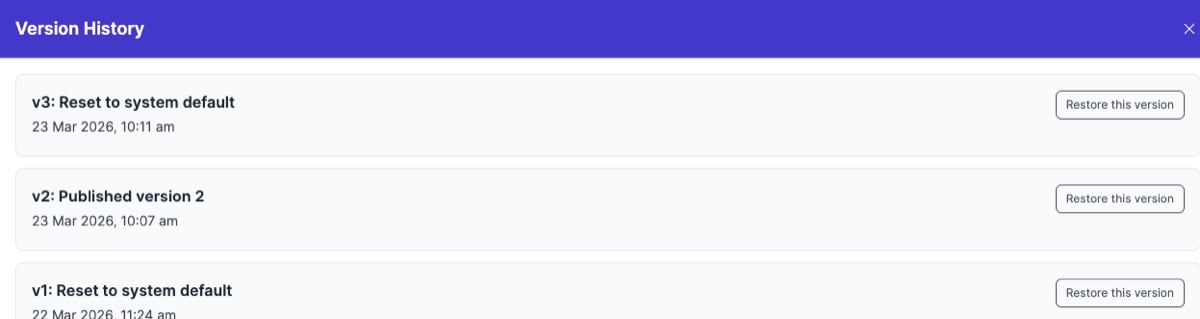
Each version shows:
- A sequential version number.
- The trigger - Published, Restored, or Reset to Default.
- A label (e.g. “Published version 3”).
- An optional name you can set to make a version easier to find (“Before GST rewrite”, “Final approved version”).
- The date and time.
- The user who triggered it.
Restoring a previous version
- Open Version History.
- Find the version you want.
- Click Restore this version.
Restoring:
- Updates the live template to match the chosen version.
- Creates a new version snapshot of the restored state, so there’s a record of the restore.
- Opens a draft with the restored content so you can review or refine it.
Every previous version is preserved. To undo a restore, restore an earlier version the same way.
Resetting to system default
To wipe customisations and go back to Curia’s default template:
- In edit mode, click Settings in the header.
- Select Reset to Curia default.
- Confirm.
A version snapshot is saved before the reset, so the customised version can still be restored if you change your mind.