Editing your report template
How to start an editing session, find and reorder content, edit sections and items, work with tables and discard a draft.
Starting an editing session
A template opens in read-only mode. To start editing, click Edit Template in the header. This creates a draft - a private working copy of the template:
- New reports keep using the published template while you work on the draft.
- The draft is autosaved as you go.
- You can discard the draft at any time to throw away every change.
- The draft is yours until you publish or discard.
Once a draft exists, the header carries Discard, Settings, Version History, and Publish Changes.

Finding content
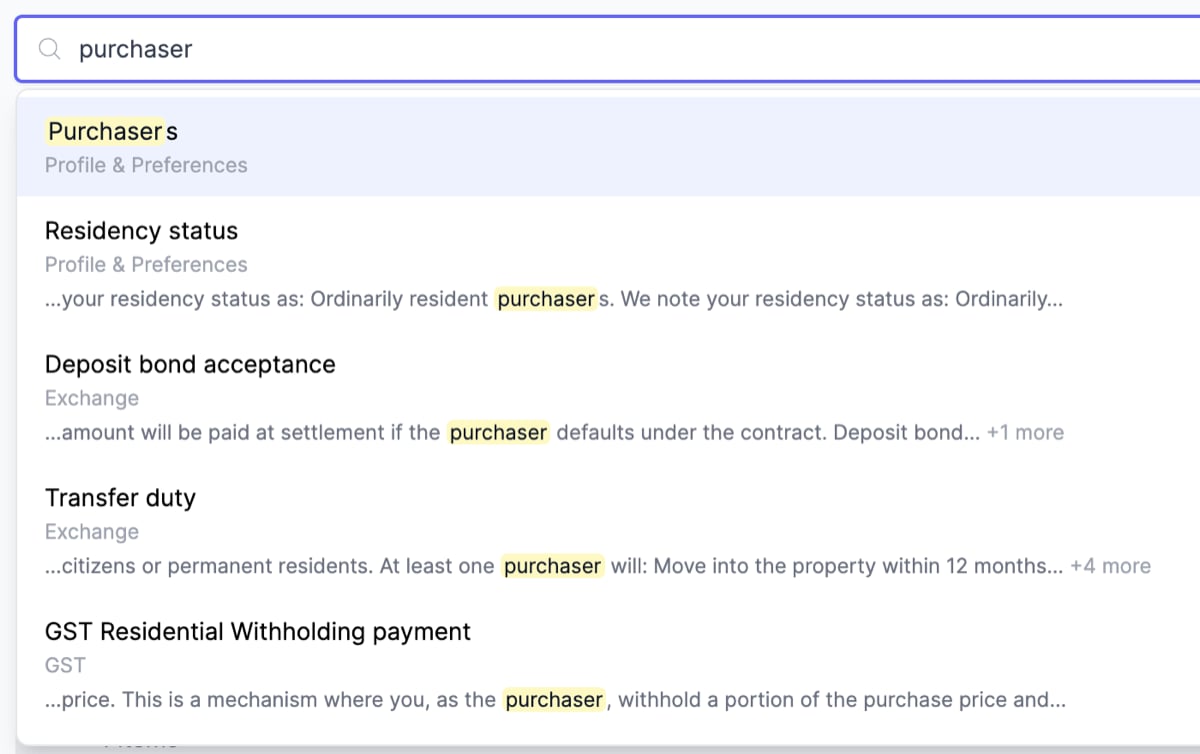
A search box at the top of the editor finds items by title or by the text inside them. Type a search term to see matching items, each showing the item title, the section and group it sits in, and a snippet of the matching content with the term highlighted.
Title matches are listed first, then content matches. Move through the list with the arrow keys and press Enter, or click a result, to jump to that item within its section and group.
Reordering content
In edit mode, drag and drop to reorder:
- Sections - drag a section by its handle.
- Groups within a section - expand the section and drag groups.
- Items within a group or section - drag items into position.
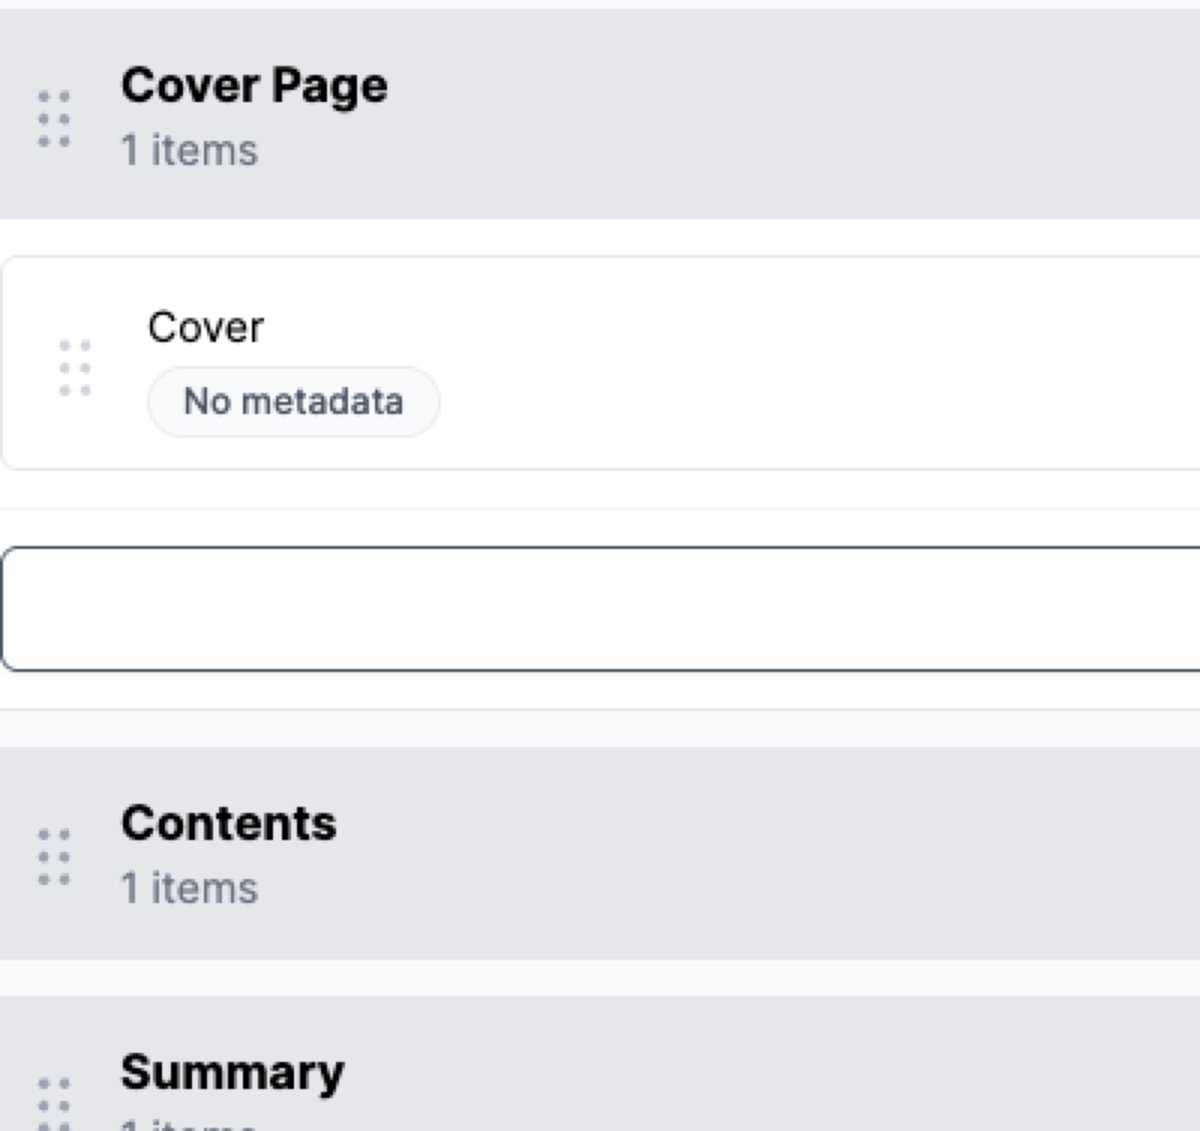
The drag handle is only visible in edit mode.
Editing sections and groups
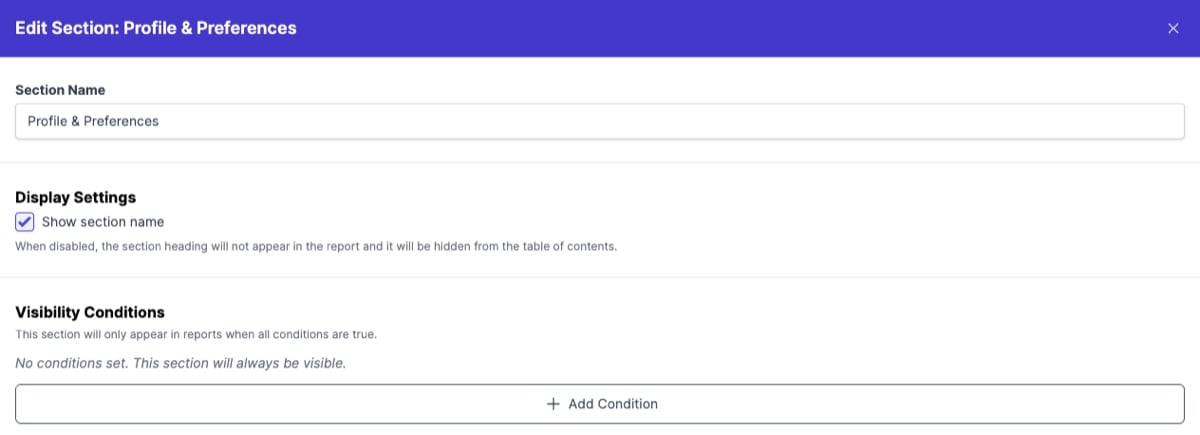
Click the edit button on a section or group header to open its settings panel.
- Name - the heading that appears in the report.
- Show Section Name (sections only) - when on, the section name renders as a Heading 1 and appears in the table of contents. When off, the section’s content still appears but without a heading and without a TOC entry.
- Visibility conditions - rules that control when the section or group appears in the report.
Editing items
Click an item to open the Item Editor. It slides out from the right with three tabs.
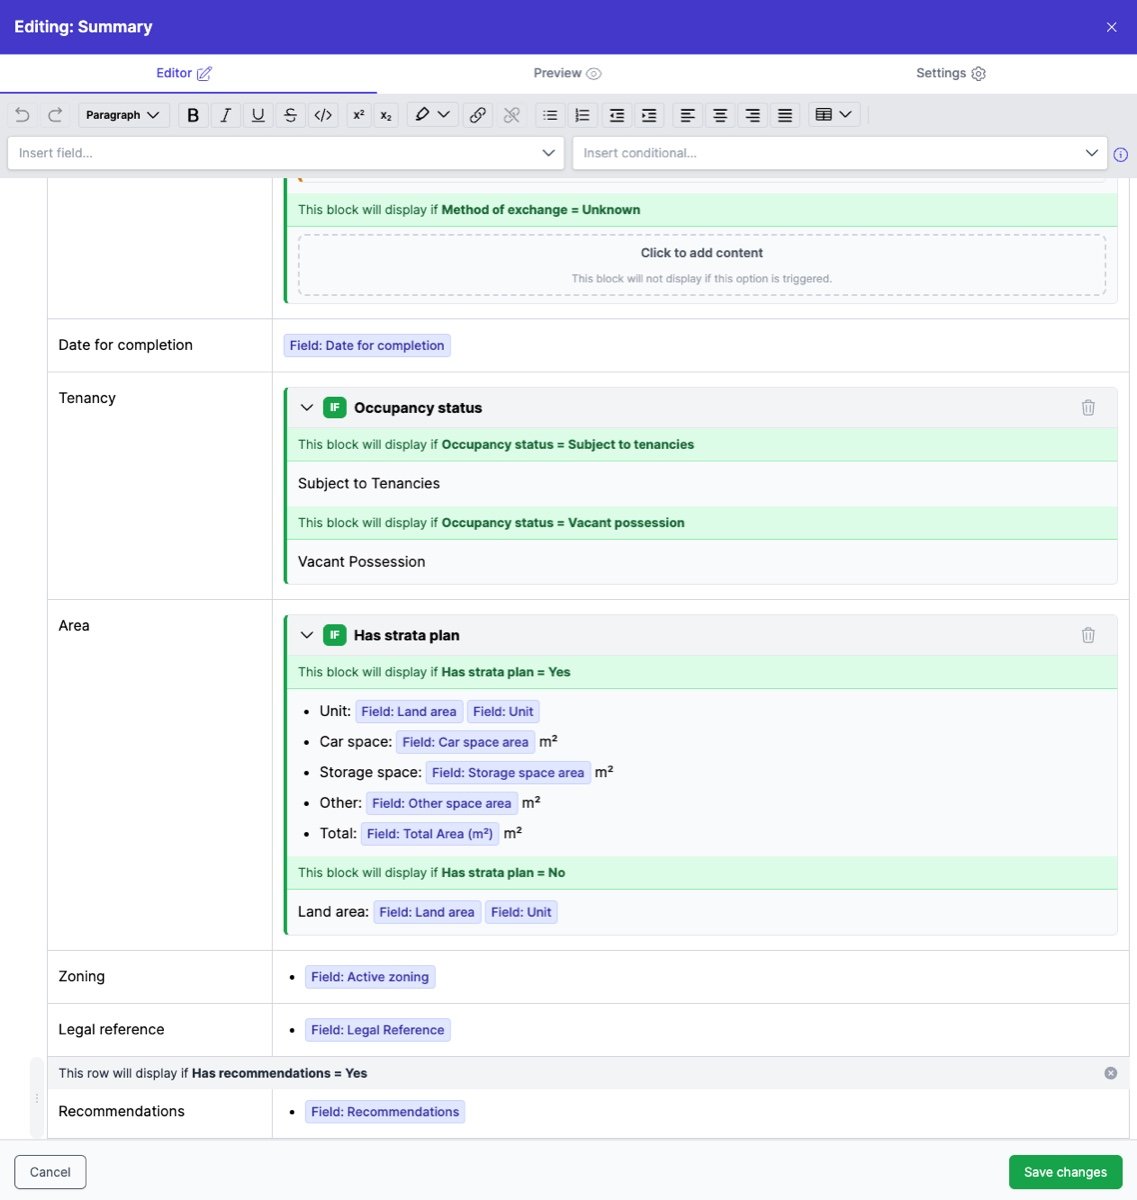
Editor
The main content editor. The toolbar covers:
- Text formatting - bold, italic, underline, strikethrough.
- Headings - sub-headings inside the item.
- Lists - bullet and numbered.
- Tables - insert and edit tables (see below).
- Merge tags - dynamic data placeholders.
- Conditional blocks - content that only appears when conditions are met.
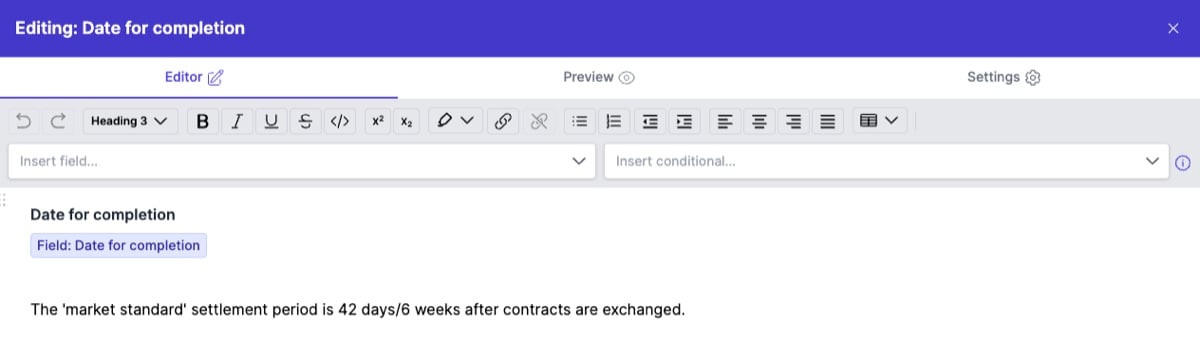
Preview
Renders the item with sample data so you can see how it’ll read in a real report. The preview includes toggle controls for any conditional fields, so you can flip values (Australian Citizen vs Foreign Resident, for example) and watch the content change.

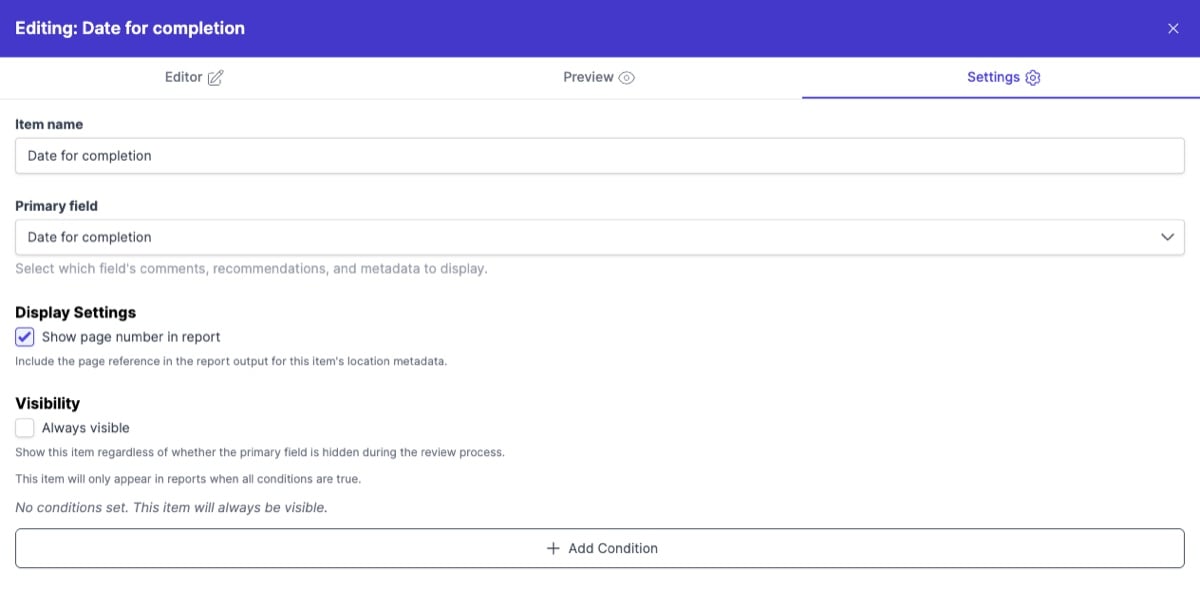
Settings
How the item behaves in the report:
- Visibility conditions - rules that determine when the item appears. All conditions must be met.
- Always visible - when on, the item always appears, regardless of visibility conditions or primary-field visibility.
- Show page number - when on, the report includes the contract page reference from the primary field.
Tables
Tables sit in the standard formatting toolbar. Use them for property details, party information, or anything that reads better in rows and columns.
To insert a table:
- Place the cursor where you want it.
- Click the Table button in the toolbar.
- Pick the rows and columns.
After insert, you can:
- Add or remove rows and columns from the controls that show on hover.
- Merge or split cells.
- Place merge tags inside cells - they work the same as in regular text.
- Set conditional visibility on individual rows - see Controlling visibility.
Saving an item edit
Click Save to keep the changes in the draft. Click Cancel or close the panel to drop them. Saving keeps the change in the draft; you still need to Publish Changes to take them live.
Discarding a draft
Click Discard in the header to throw away every change in the draft and return to the published template. A confirmation dialog appears first.