Branding your reports
Set firm-wide branding for every report, plus letterhead, margins, and font size for Word downloads.
Branding settings apply across every report template on the account. They sit on two tabs: General for the firm identity that shows in both the on-screen report and the Word download, and Word Downloads for settings that only affect the exported Word document.
Opening branding settings
Navigate to Settings > Branding. The page opens on the General tab, with Word Downloads alongside it.
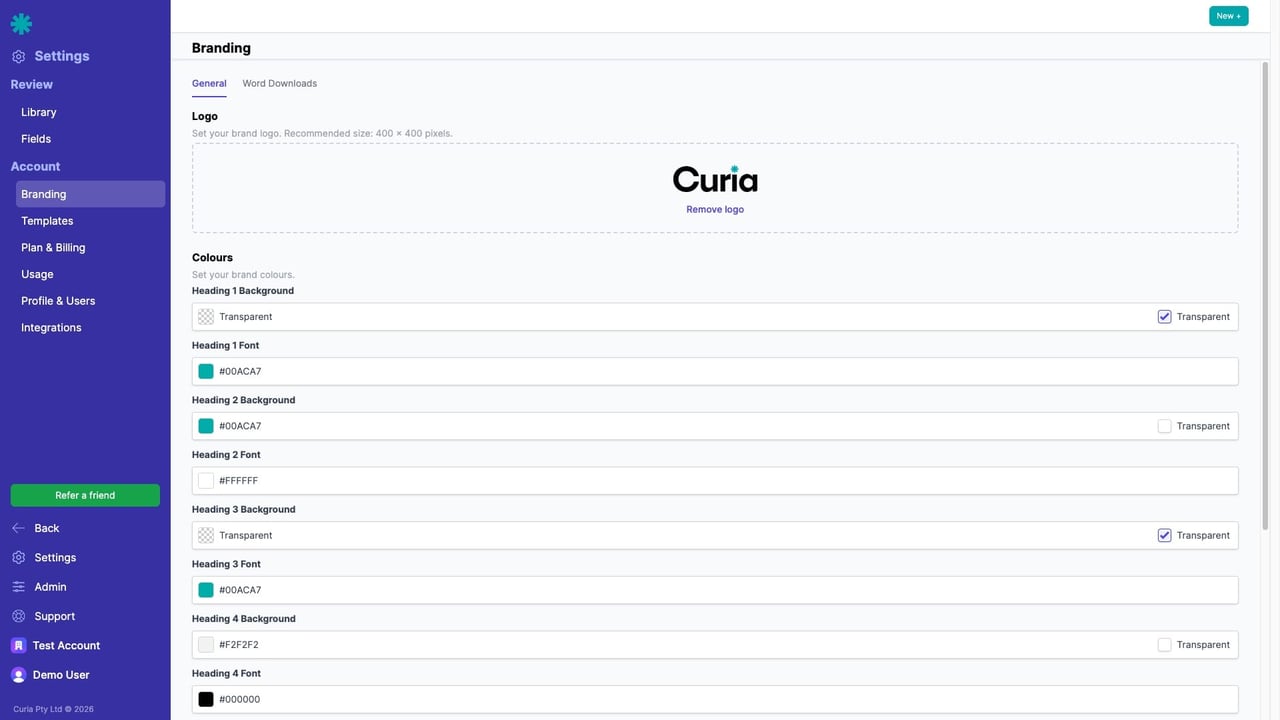
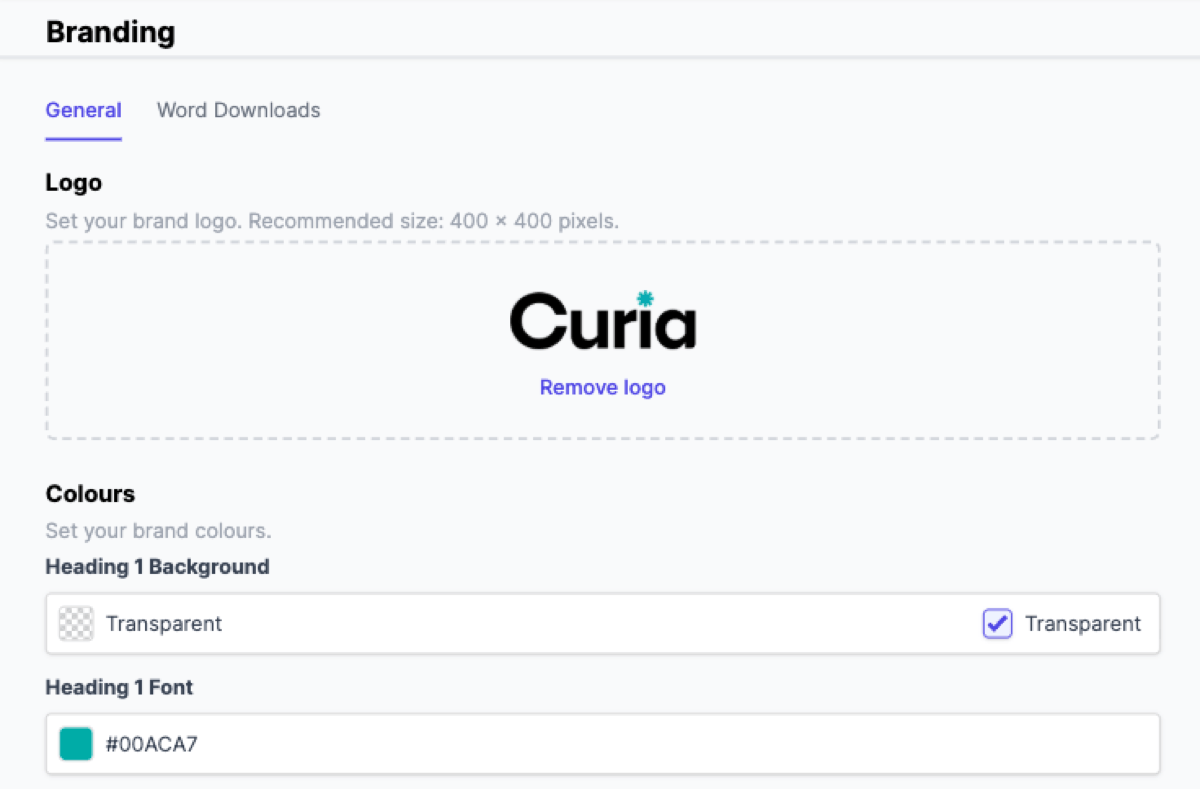
General tab
These settings apply to both the on-screen report preview and the downloaded Word document.
Logo
Upload the firm logo here. Where it appears on a Word download (header, footer, or not at all) is set on the Word Downloads tab.
To upload a logo:
- Click the upload area or drag and drop an image.
- A preview appears.
- Click Save branding.
To remove the logo, click Remove logo under the preview, then save.
Recommended size: 400 × 400 pixels. Accepted formats: PNG, JPEG.
![]()
Colours
Customise the background and font colours for each heading level, plus the default body text colour.
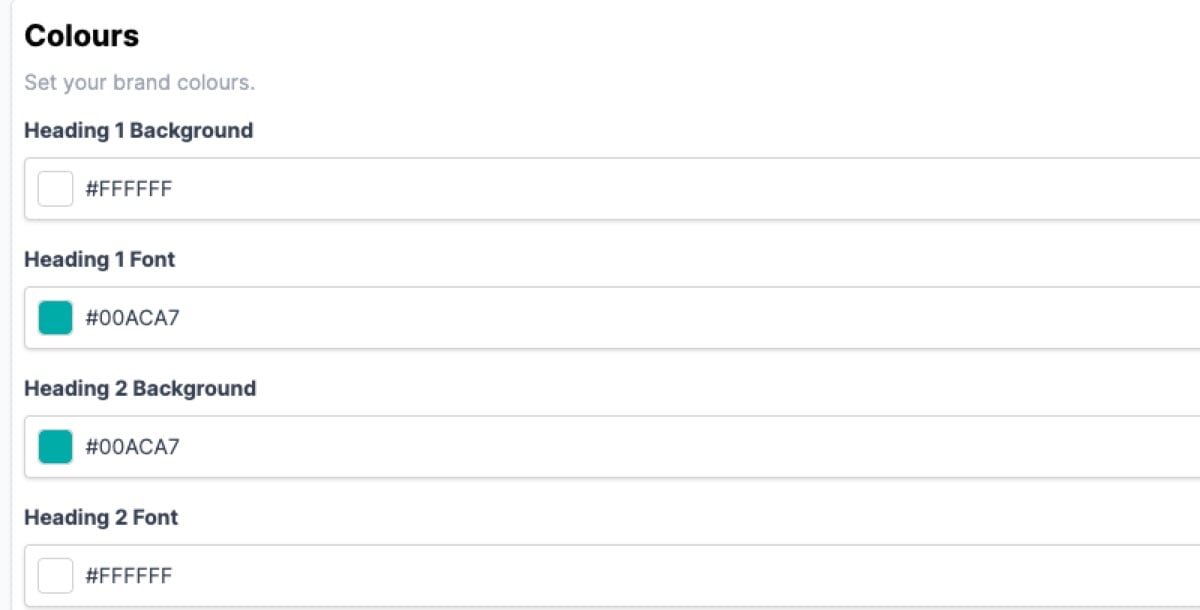
- Heading 1 Background and Heading 1 Font - section headings.
- Heading 2 Background and Heading 2 Font - group headings.
- Heading 3 Background and Heading 3 Font - item headings.
- Heading 4 Background and Heading 4 Font - metadata headings (Comment, Location in Contract, Recommendation).
- Default Font - body text colour throughout the report.
Click any colour swatch to open the colour picker.
Each heading background also has a Transparent checkbox. Tick it to leave that heading’s background with no fill, so the report page shows through behind the heading text. This option is on the heading backgrounds only; the font colours and Default Font are always a solid colour.
Font
A single font applies to every heading and body block in the report. Body text size for Word downloads is set separately on the Word Downloads tab.
Pick a common font for the most consistent rendering on the recipient’s device.

Text alignment
Under Typography, set the default body text alignment for report content. Changes made to individual template elements override this default.
Word Downloads tab
These settings apply to the downloaded Word document only.
Page branding
A Page branding dropdown chooses how each page of the Word download is branded: Firm logo or Letterhead images.
With Firm logo selected, two checkboxes control where the firm logo (uploaded on the General tab) sits on the page: Show logo in header and Show logo in footer.
![]()
With Letterhead images selected, the logo placement checkboxes are replaced by the letterhead upload slots below, and the header and footer logo checkboxes have no effect on the export.
Letterhead images
Shown when Letterhead images is the page branding mode. Upload A4 artwork; recommended size 2480 × 3508 pixels (300 DPI). Off-aspect images distort.
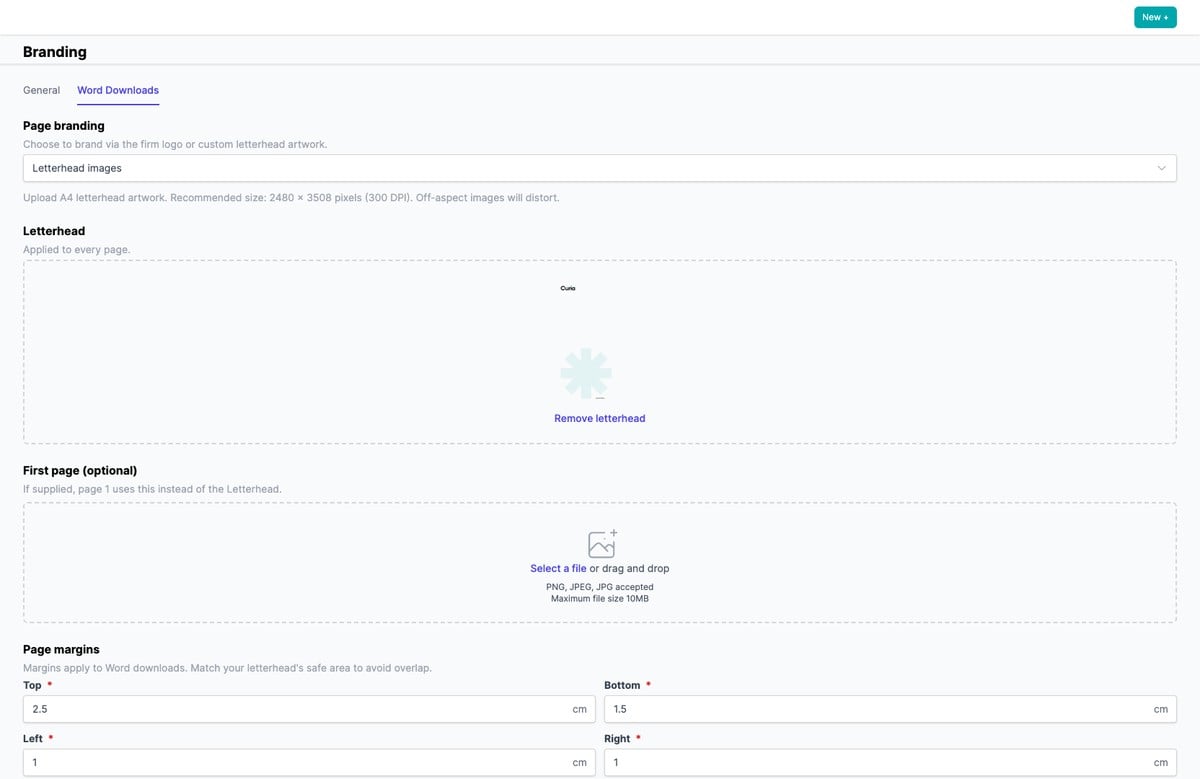
There are two slots:
- Letterhead - applied to every page of the Word download.
- First page (optional) - used on page 1 in place of the main Letterhead. Supply it for a distinct first page; leave it empty to use the main Letterhead on every page.
To remove either, click Remove letterhead or Remove first page letterhead under the preview, then save. Removing and saving clears that artwork from later Word downloads.
Page margins
Set the Top, Bottom, Left, and Right margins in centimetres. When using letterhead artwork, match the margins to the letterhead’s safe area so report content doesn’t overlap it.
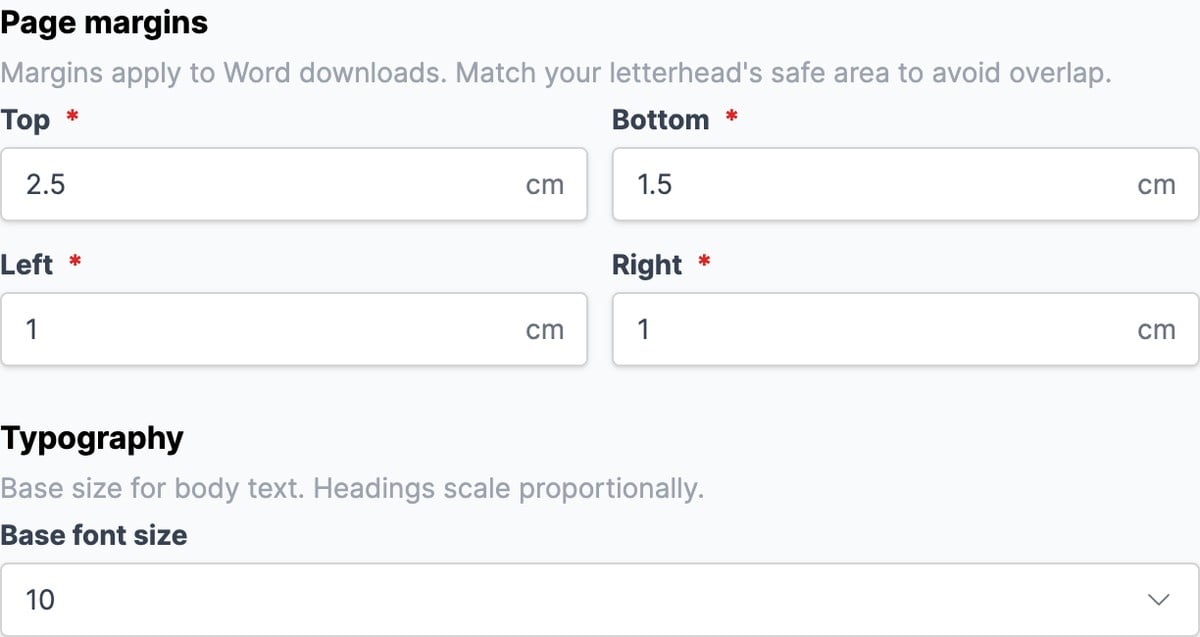
Base font size
Set the Base font size for body text in the Word download. Headings scale proportionally.
Download font
The font set on the General tab must render on screen, so it’s limited to common web fonts. Download font lets a Word download use a font that isn’t in that list, such as your firm’s own font. It defaults to Same as report font.
To use a custom font, set Download font to Custom font and enter the font’s family name exactly as it’s installed on your computer. Use the family name, for example Brandon Grotesque, not a single style or weight like Brandon Grotesque Bold; Word applies bold and italic itself.
To find the family name:
- On a Mac, open Font Book, select the font, and use the name its styles are grouped under.
- On Windows, open the Settings app and go to Fonts (or open the Fonts control panel), then use the name its styles are grouped under.
A custom font applies to the Word download only. The on-screen report keeps using the font from the General tab, so the preview won’t match the downloaded document.
Saving changes
Click Save branding at the bottom of the page to apply. Settings on both tabs are saved together.
Branding changes take effect on every report generated after the save. Reports already generated are not changed.